Monday, November 26, 2012

Petal Ornaments

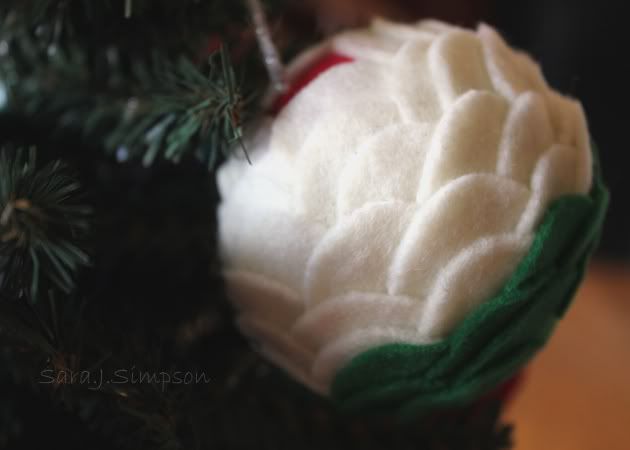
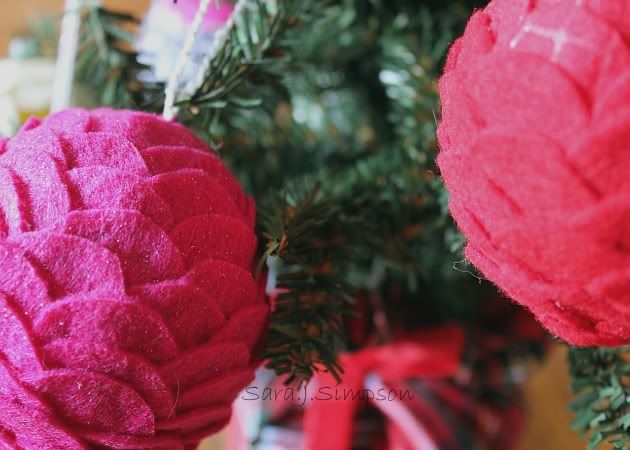
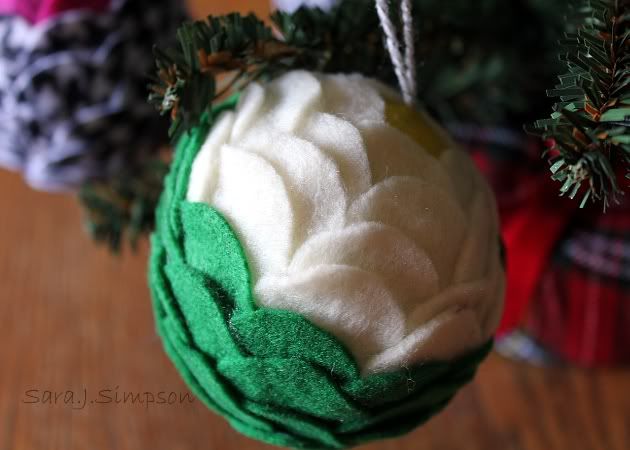
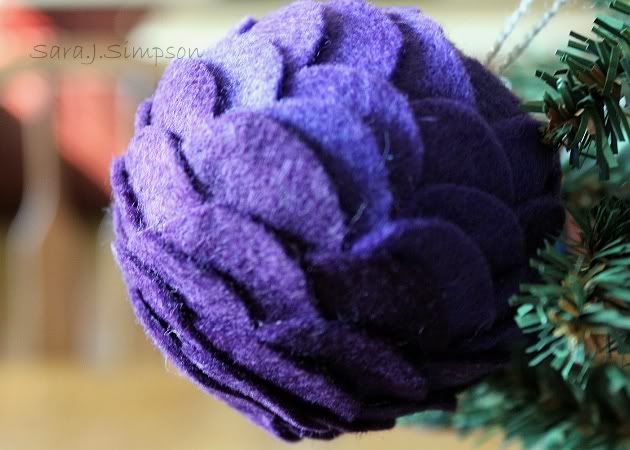
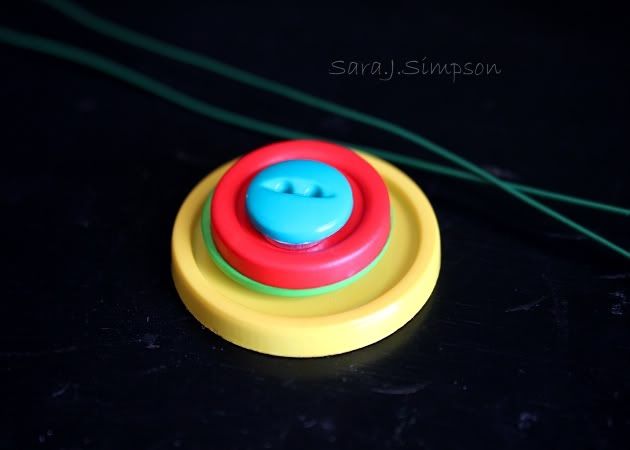
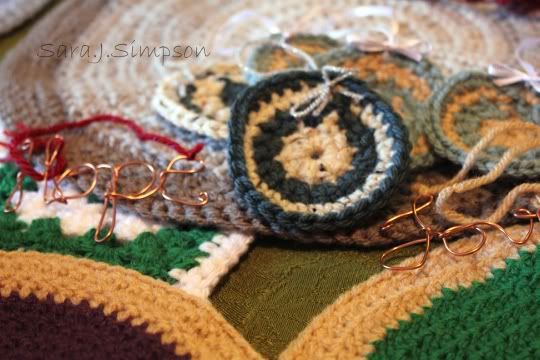
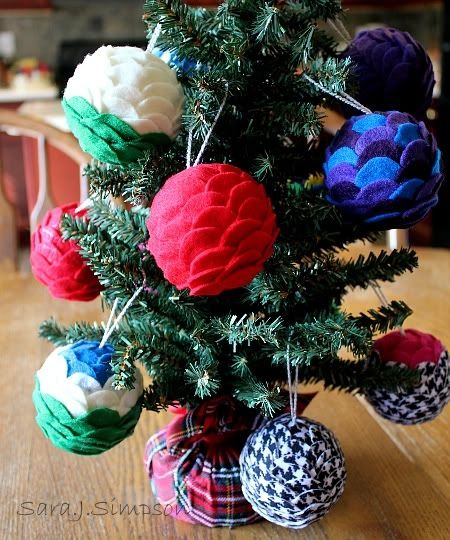
Just stopping in for a quick post to showcase some ornaments I've created this holiday season.  I love the layers of petals - they are really light weight and look great on a tree.  Hope you are enjoying your Monday!


Saturday, November 24, 2012

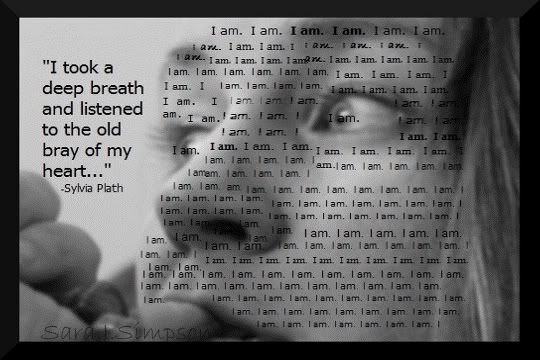
I Am

This time of year can be very busy but I try to keep it slow.  I like to take time off around Thanksgiving to unwind a bit from a hectic first part of the school year, busy work days, and very excited boys who are looking forward to holidays.  I use the time to rest, enjoy my family, center myself, and start to think about what handmade items I want to make this year.  Each year I've expanded the handmade gifts that I give to family and friends.  I love receiving handmade gifts as well. 

Giving handmade gifts is a way of saying, "Here I am.  A piece of me for you."  I think some people still think handmade is a cheap way out of buying a gift but I disagree.  My mom has made quilts for my boys and gave them as gifts.  They LOVE their quilts and are very put out when we have to take them away to clean them from time to time.  This year I am going to blend some handmade items into my boys' gifts.  Typically we just buy all of their gifts but I want to incorporate more handmade for them too.  They watch me make things with love and have put in requests here and there for things they might want.  One year they all wanted crocheted winter hats.  I took them to the store to pick out thick yarn in the colors they wanted.  They loved being part of the process and watching it come to completion.

I have learned over the years the people who really appreciate handmade and the people who don't appreciate it as much.  I know there are some who will throw the handmade gifts in the back of the closet because it's not as exciting as something purchased in a store.  That's ok too.  We're conditioned to want those things.  There is a growing movement towards more handmade, well made, artisan gifts though and I love being a part of it.

For me, handmade gifts means there is a tangible part of me that will be around for a long time.  I love to think about my boys passing down things I made for them to their own children and grandchildren one day.  The idea of them wrapping themselves up in a blanket I made or hanging one of my photographs on their wall to look at long after I'm gone gives me comfort. 

I am very thankful for my abilities to create things that I love.  During hard times, it helps me find my way back to my true self.  It helps me wind down after a long day.  When I feel like the corporate world stifles me, it helps me strike a balance so that I can be happy and successful at work and still know that I have an outlet for my creative side waiting after hours.  It gives me more patience to be a better wife and mother.  It makes me feel like me.

I think most artists and crafters feel this way.  This year, if you are given a handmade gift, just know you hold a little piece of an artist's heart.  Even if the person giving the gift didn't create it, they sought it out just for you.  They wanted to give you something that was part artist and part you.

I hope you have the opportunity to slow down during this time of year and just enjoy.  Just be.  I know I am.


Friday, November 23, 2012

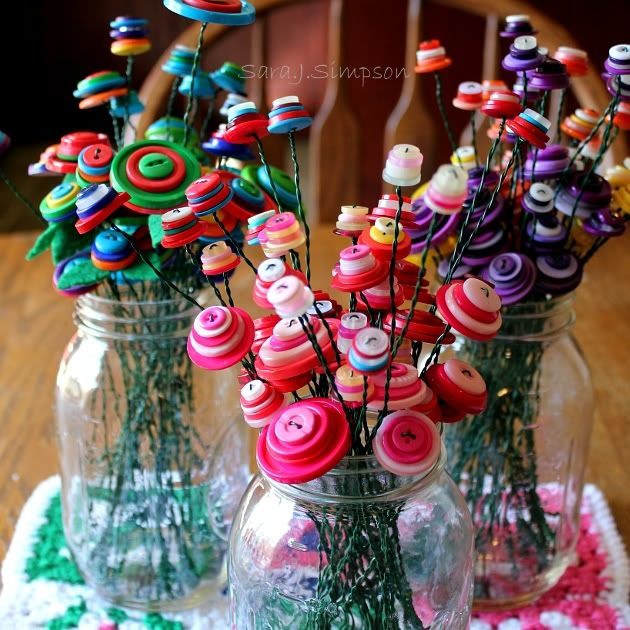
DIY Button Flowers

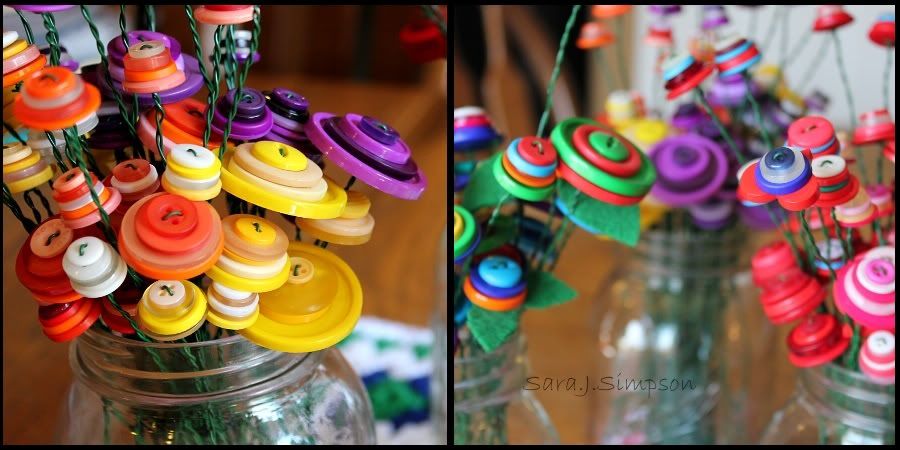
As promised in a previous post, here is a tutorial for making colorful and easy button flowers.  They are a great addition to add a pop of color to any room AND they don't die!  I like making multi colored flowers but I also really like to make monochromatic flowers.  The monochromatic flowers are great to enhance accent colors in a room.


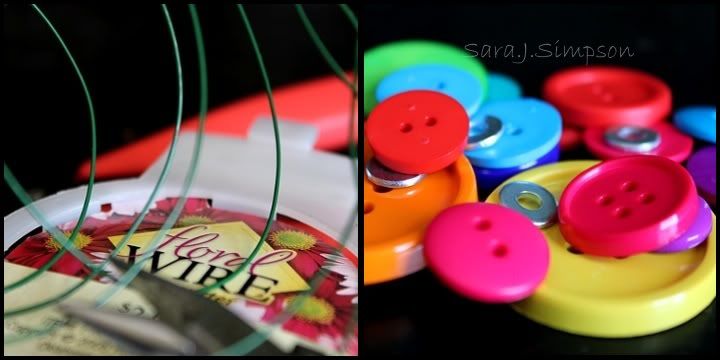
Things you'll need:
Floral Wire - I used 22 gauge
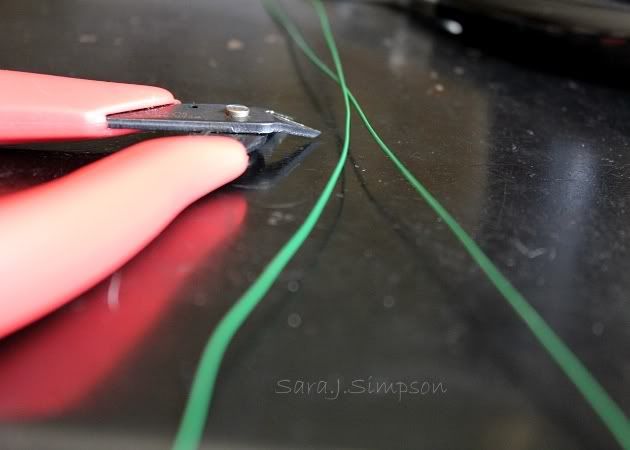
Wire Cutter
Pliers
Buttons


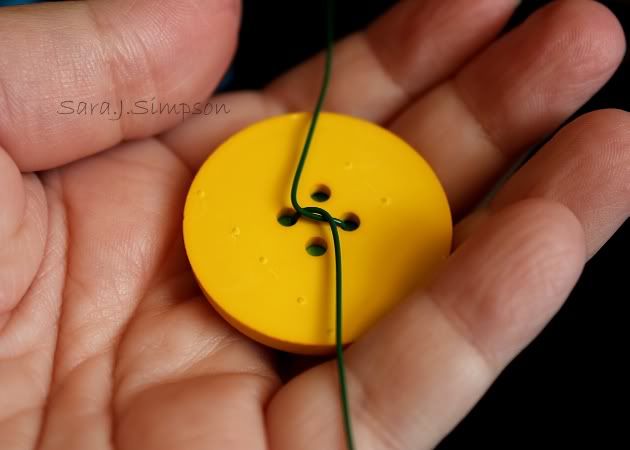
Cut a piece of floral wire in the desired length.  You will need to double the length because you have to fold it in half to string on the buttons.  Leave a little extra length at the bottom so you can twist the wire once the buttons are in place.


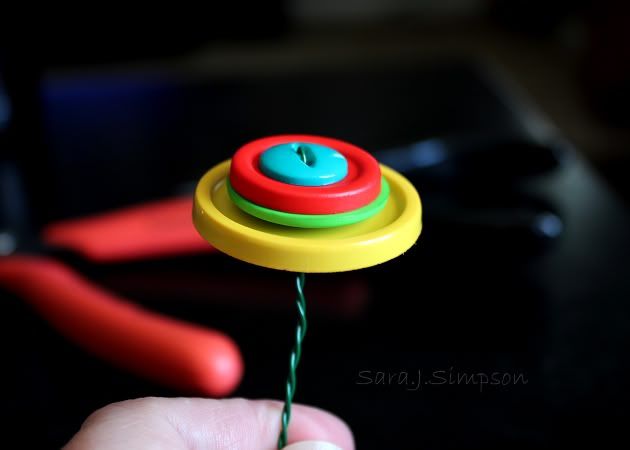
Here's the fun part -- design your button flower.  Place the buttons (and any other fun things you decide to play with - like a washer) in the order you want them displayed.


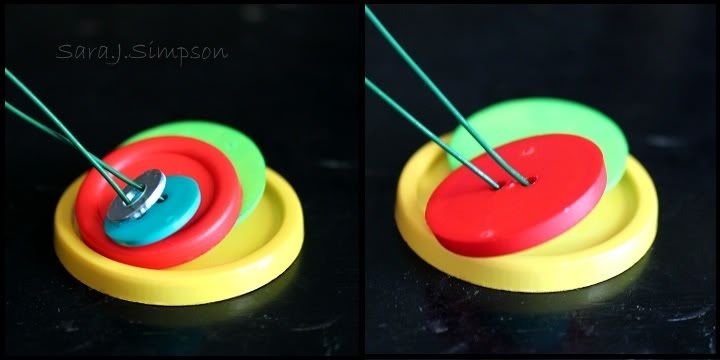
Now string the buttons onto the wire.  Start with the top button first and make sure to pull it all the way to the top of the wire so there is no gap between the wire and buttons.  Then add the other buttons.


Once all of the buttons are on the wire, pull them to the top so they are tight.  Then twist the wire to secure it under the bottom button.


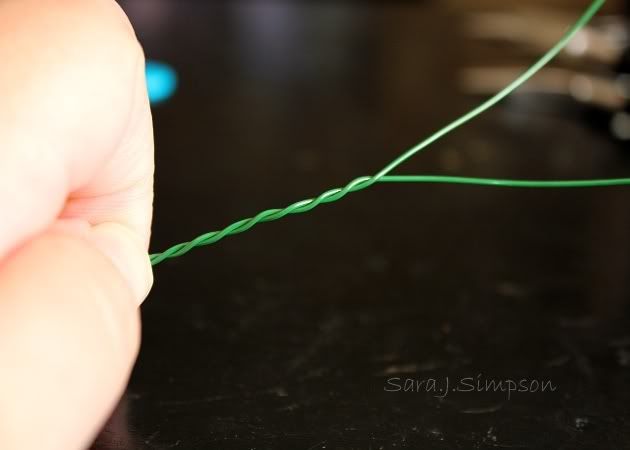
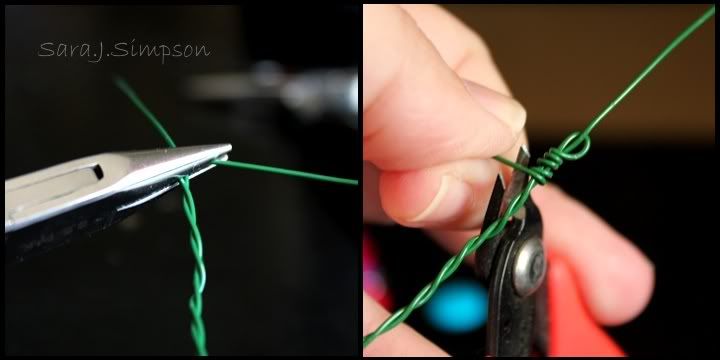
Now keep twisting the wire all of the way to the bottom.  To make sure the buttons stay in place, hold the wire in place under the bottom button and then use your other hand to twist the wire pieces.


Once you have twisted the wire to the bottom, use your pliers to bend the sharp ends down.  Then wrap them around and cut off the ends.  This keeps the wire from unraveling and it also gets rid of the sharp points.


Now you have one flower finished!  You can make as many as you want to fill vases, Mason jars, tie with ribbon, or find other fun uses.


Enjoy your flowers!


Monday, November 19, 2012

Craft Show Lessons

It has been a while since I last posted.  Between work, my boys’ schedules, and preparing for the craft show, things have been hectic.  It has been a good hectic though.

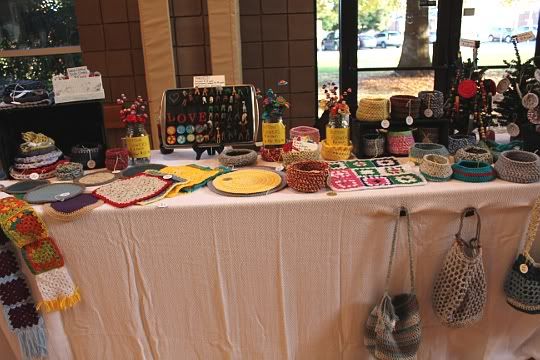
The craft show was this past Saturday.  It was the first craft show I have done in several years and it was my first craft show selling non-jewelry items.  I chose to do this show to get my feet wet and maybe start selling at shows regularly.  I put a lot of eggs in this basket.  I wanted to make money but mostly, I wanted my work to be liked and appreciated.  Selling or displaying handmade work is like putting a piece of your heart (and your pride) out on a table.   It’s difficult not to take it personally when someone walks by without even a glance.  You want them to see the love, ideas, and work you put into each item.  I did my best not to give sad puppy dog eyes to everyone who walked by me. 


I learned a lot from this show and thought that I could share those lessons with other people who want to start selling at shows.  I did sell some items and I received some good feedback.  However, I did not sell much at all.  The first few hours of the show, it made me sad.  I doubted my talents and myself.  Then I started noticing some things.  No one was really selling much.  More than half of the show was independent consultants and not handmade items (candles, make up, kitchen items – the kind of items that people host parties at their house to sell).  That made it difficult for the handmade vendors to compete. 


LESSON NUMBER 1 – ALWAYS ask if the show is 100% handmade.  If it’s not, then reconsider if it’s the show for you.  There was some great talent at that show that was being overlooked because of the mass produced NON-handmade items.  One of the things I enjoy about shows is talking to other artists about their craft and their process.  I met a girl who had beautiful pottery and found out she set up a pottery studio in her backyard shed.  I bought a hand dyed silk scarf from a lady who had an interesting technique of dying silk using men’s ties for different textures and looks.  I also bought a fabric rug from a woman who uses a 100-year old loom to weave the rugs.  It has been in her family and the trade passed down over each generation.  I love that I have that history on my kitchen floor right now.  Can those mass produced items provide the same thing?  Nope.  The ladies at those tables were very nice and just trying to make money but I learned that I missed not having more artists to learn about and get to know.

LESSON NUMBER 2 – Figure out a way to accept credit cards.  I had decided not to accept credit cards because I wanted to see if it was something I needed to do.  I only lost one sale because of it but I need to figure out how I’m going to do that going forward.


LESSON NUMBER 3 – Be willing to take advice from seasoned sellers.  The lady at the table next to me was selling jewelry and has been doing shows for a number of years.  She was a wonderful resource.  She gave me some advice about credit cards and gave me the email address of a woman scheduling for an actual handmade show in December.  You would think that people selling would not be friendly due to the competitive nature of selling but it’s not typically like that.  There is a true community among artists and crafters and I love that.


LESSON NUMBER 4 – Just because you aren’t successful at one show does not mean that your work won’t be successful somewhere else.   I think part of my issue was that the show I did was at an older church in town.  The majority of the shoppers were much older people who were lovely and gave me good feedback, but I think my work would do better aimed at a younger demographic.  I just need to find the right shows for me.


LESSON NUMBER 5 – When all else fails, have your husband stop at the liquor store on the way home from the show.  It takes the edge off a bit.  Also, a date night right after the show is a beautiful thing for blowing off steam.


Was this show everything I’d hoped it would be?  No, but I decided to learn from it and move forward.  I have some ideas about some other things I want to do before I do another show.  I still love everything I put on that table so I know I’m doing what’s right for me.

I have a lot of things to share in future posts and some DIY posts to come.  I’m looking forward to a slow paced week and time with family.  Happy Thanksgiving!


Sunday, October 14, 2012

Craft Show Progress and Procrastination

A little bit of panic set in this week when it dawned on me that I have a little over four weeks left until my craft show and one week of that (the week of the show, to be exact) I will be out of town for work for four days.  When I signed up for this show in August, I did not have any inventory.  I had a few things I worked on here and there but nothing substantial.  I have been creating every chance I get since then and piling things up in various stages of completion. 

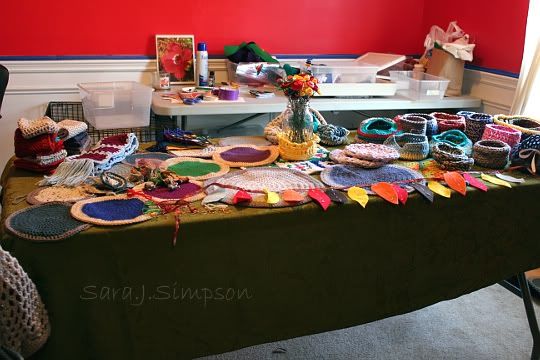
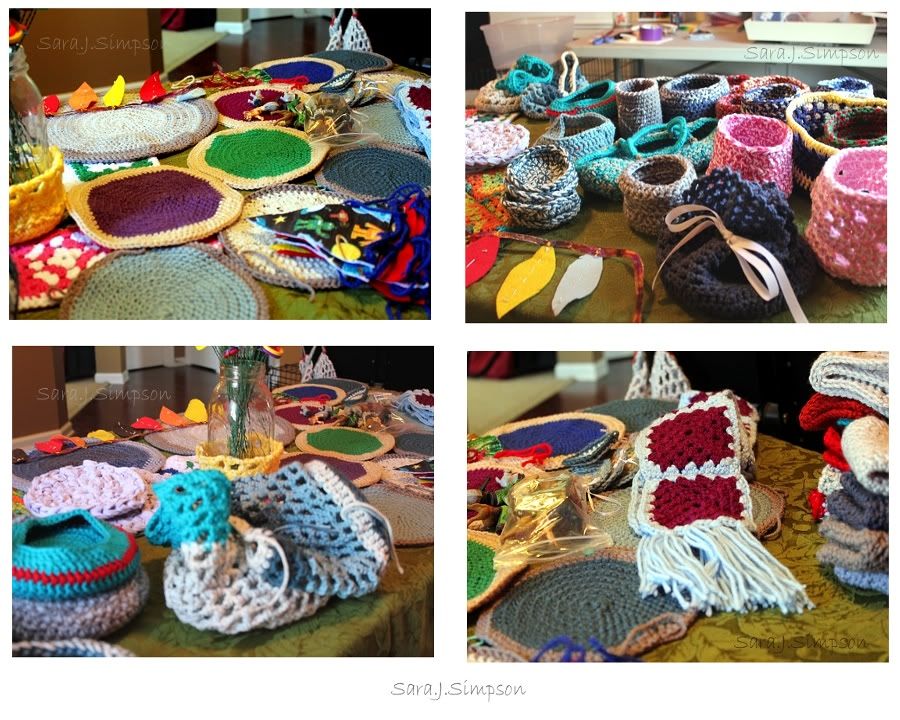
Today, I decided to get a table (slightly smaller than the table I'll have at the show) and just move everything I've made (100% completed or not) over to that table and see where I stand.  I needed to create a schedule today of what I need to finish, start thinking about table displays I need to make, etc.  I procrastinated for quite a while this morning -- I even found myself googling quotes about procrastination while I was procrastinating.  Finally, I got it together.  I laid all of my items out (not neatly), took some photos to document my progress, and started penciling lists on a big desk calendar to get myself in order.


Once it was all in my face, I realized that I have quite a bit completed (or almost completed).  That was comforting.  However, I quickly realized how much MORE I have to do before the show.  Panic ensued a bit.

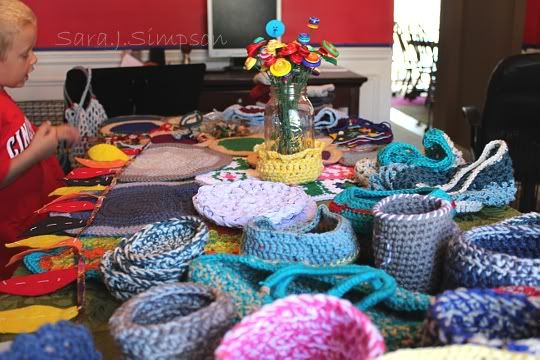
Jack was helping me get organized.  I told him that he needs to be at the show to sell my wares because he is much cuter than I am.


What did I do with that panic?  I started to get organized, which always makes me feel more in control.  Then I procrastinated a little --

"I absolutely need to research craft show displays - ooh, another blog to read!" 

"Today I should probably start setting up my photography Etsy store that I've been wanting to redo." 

"Mmm...a beer.." 

After that, I started typing up this blog post.  I don't feel like this is total procrastination though because it is focused on the craft show, right?


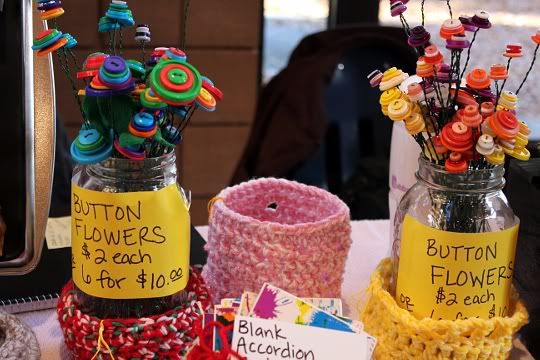
I am very excited about the bright colors and fun geometric shapes I have been using in multiple pieces.  I still have a lot of button flowers to make.  It will all be completed though, right? 


All in all, I'm in better shape than I thought.  I still have a lot of work to do but I know I'll get to it.  It helps that I enjoy what I'm doing.  I just need a game plan for these remaining weeks.  I'm also trying to be creative (and thrifty) with how I set up my table display.  As I figure it out, I'll share more.  I've gained a lot from other blogs with booth and table display ideas so want to share my ideas too.

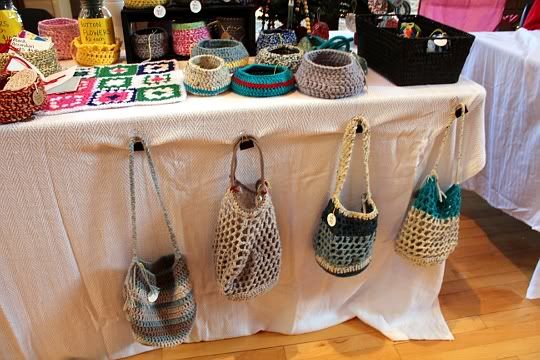
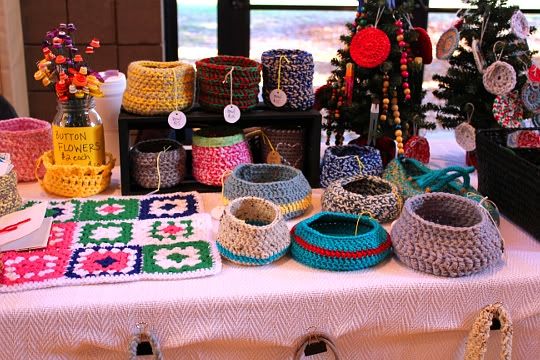
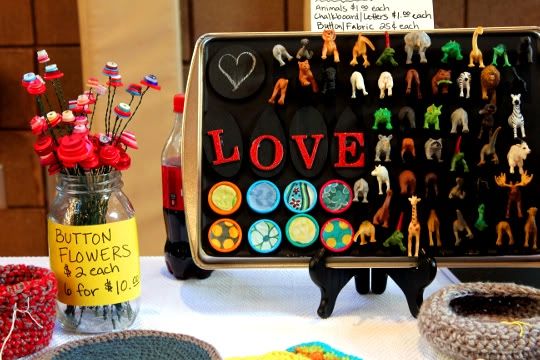
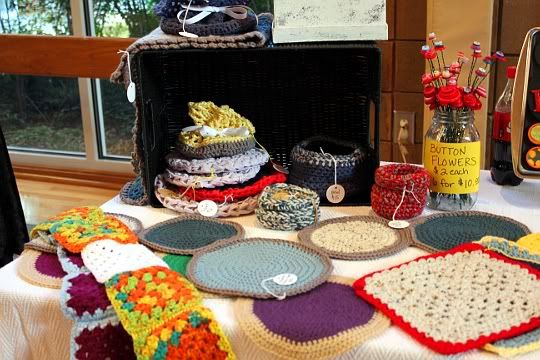
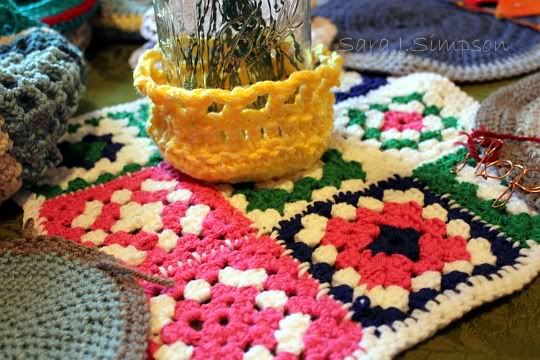
Some close ups of my items.  I made some geometric table runners that I'm loving.  I'm working on some fun garland.  I also have some bags I've been making - the photos didn't come out great but I promise a blog post just for the bags.  I have some other fun things planned too.  My plan is to share a lot of these things on my blog individually so stay tuned!

I suppose I should stop blogging and get back to it.  I do have a plan, some lists, some calendar planning, and I connected a few granny squares for a scarf today.  Not too bad for a day of procrastination!

"Procrastinators are also great at beginnings and not as skilled at completions." - SARK

We'll see about that, SARK!  Happy Sunday!
Friday, October 12, 2012

October Wishes


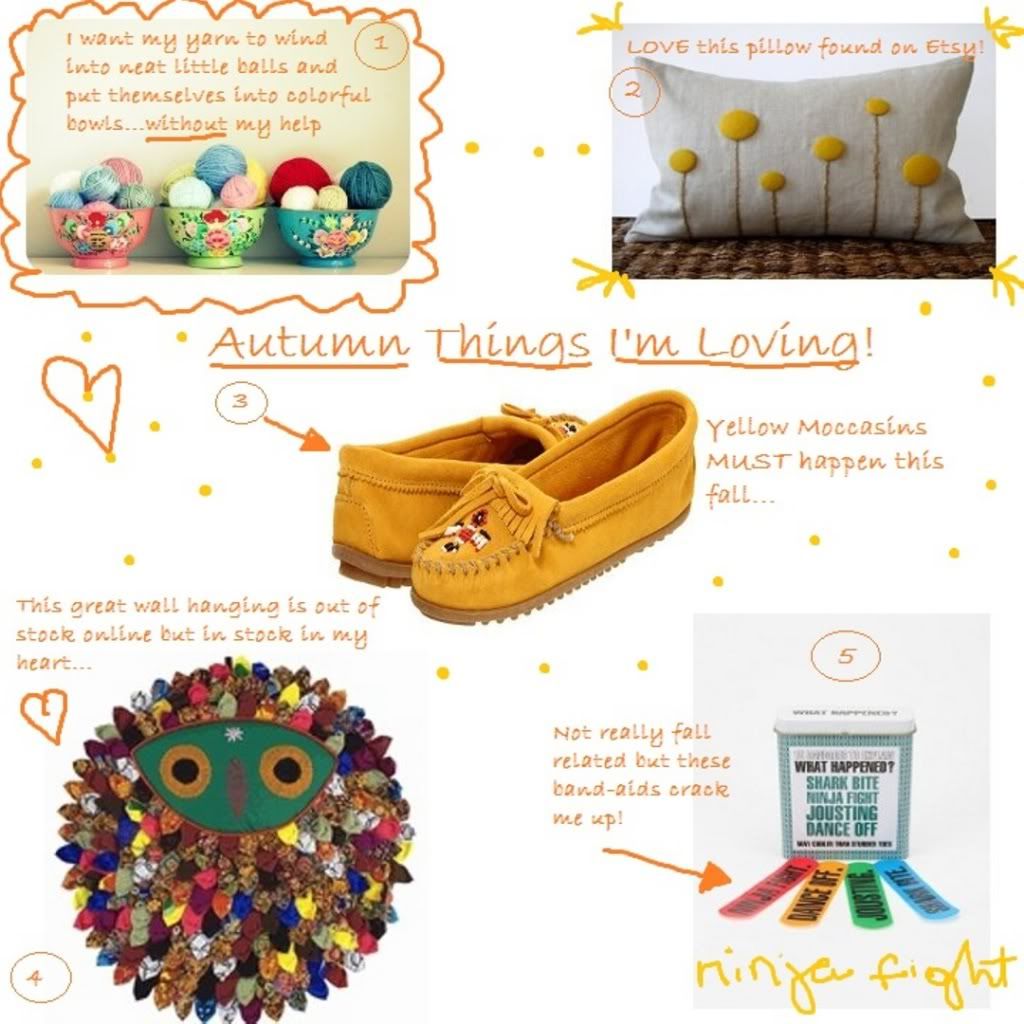
It's Friday - a day I've spent this particular week wishing for so much.  I try not to wish my days away but some weeks...well, you know.  Now I'm happy that it's Friday but I am still in a wishing mood.  Below are some things I've found myself admiring or wishing for recently.  Autumn gives me the wishies!

Any autumn wishes and inspirations you are having these days?


Wednesday, October 3, 2012

Easy Art - 2 Simple Projects

I want colorful art hanging around our house.  Unfortunately, our budget does not allow me to buy much art so we make do with what we do have -- our own hands and some ideas.  I thought I'd share a couple of ideas here.  Two Easy Art ideas that don't require a lot of time, skill, or money!

Doodle Book Pages:
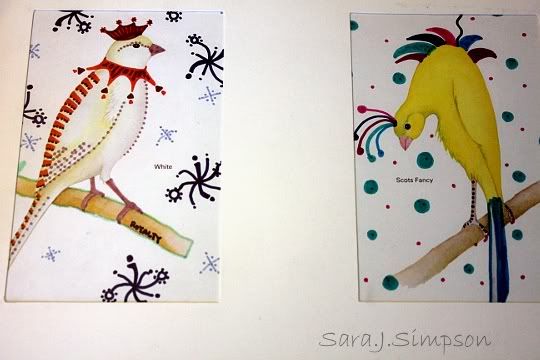
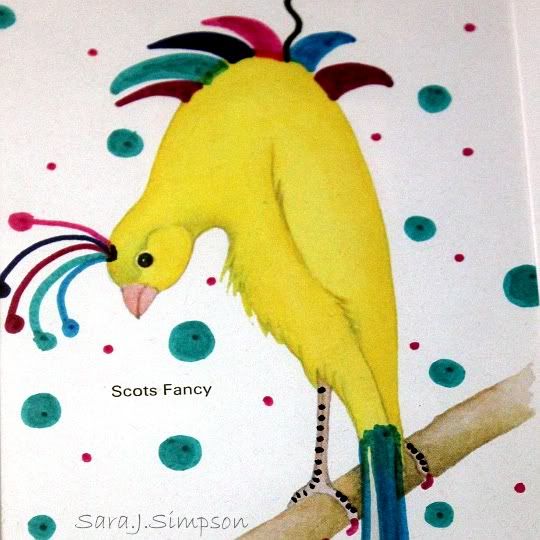
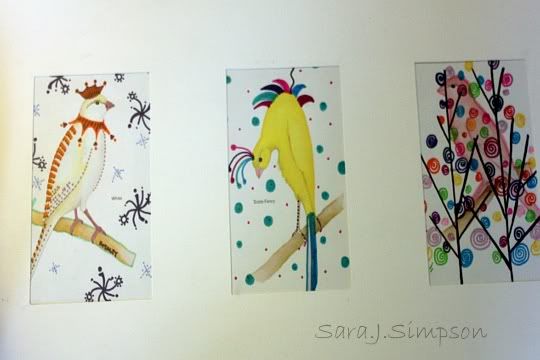
I decided it might be fun to add some colorful doodles to someone else's art work.  I found an old book from the 1970s that was all about Canaries and taking care of them as pets.  There were multiple pages of colorless canary drawings throughout the book. 

What you need:  A book you don't mind cutting out pages to use, Sharpies (or other markers but seriously - who doesn't love a Sharpie?), and something to mat and frame the finished product (or just a frame).

Cut out the pages you want to use, sit down with a marker, and....DOODLE!


I chose 3 canary pages to doodle because I had an inexpensive frame that was matted for 3 5x7 sized spaces.  My pages were just about 5x7" so fit perfectly.

I didn't take a great photo of the actual framed piece because it's currently off the wall while I decide where to put it next.  You get the gist though -- 3 pictures, some extra color, easy art.  Not fine art, mind you, but colorful and fun to hang on the wall.


Photography for Child's Room:
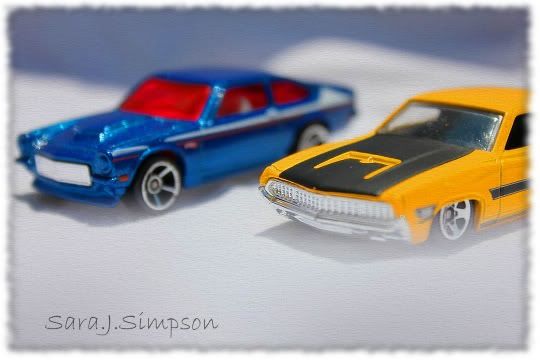
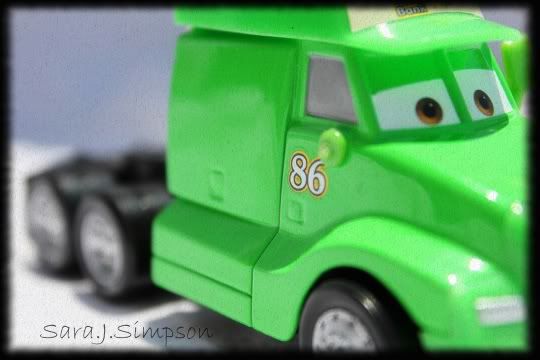
This next little project was something I did for my youngest son's bedroom.  He has always loved cars - the movie, the matchbox variety; you name it, he loved it.  Once he outgrew his nursery and wanted a "big boy room", I wanted to find some art to hang that he would enjoy.

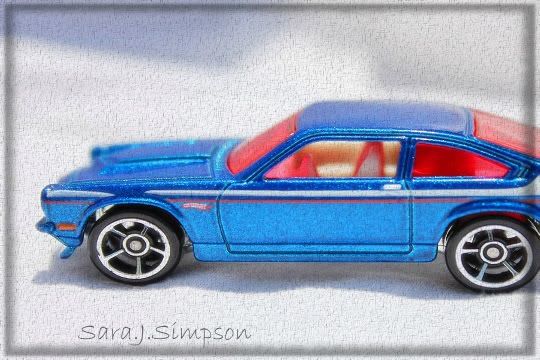
What you need:  a camera, some favorite toys, good lighting, and I used a white sheet for the background.  I also used an editing software to add some texture but that's really optional.

I went outside with a bucket of his favorite cars and took some close up photos.  I used a white crib sheet to for the background and some good outdoor lighting (Thanks, Sun!)


I had these printed locally as 8x10 photographs and it cost me less than $20 to have them printed (I think I printed 7-8 photos total).  I hung them in inexpensive frames around his room.  He loved them!  That was when he was 4 years old, he's now 6 and still loves them. 


There you go -- 2 Easy Art DIY ideas.  You don't have to spend a lot of money or only hang fine art in your house to add some color and interest.