It started in January of 2011. Not one to follow crochet patterns, I found one in a book that I liked. The afghan in the book was a solid color but I loved the idea of stripes in different shades of blue and gray. I started working on it earnestly for a few weeks. Then I stopped for a few months. Then the cycle would ebb and flow --- determination to finish it, followed by boredom and the need for smaller projects. Off and on, off and on...it has been an endless cycle.
Well, no more! I will finish it in 2013 no matter what --- no matter what being that I may be finishing it up just as my friends and family are kissing and clinking glasses while the ball drops to usher us into 2014. Finished it will be though -- I'm serious. No really, I am.
It's kind of pretty, right? I was very ambitious to make my first non-baby blanket a rather large one.
Initially I was going to make it as a gift for someone - maybe a friend or family member.
The longer I let this process go, I started to think, "Whoever gets this as a gift better LOVE it!"
As this continued, I started to reduce the list of giftees to the people who I think would really love it. People who would be so touched that tears would come to their eyes and all of my work and procrastination would pay off at once. Self-centered, I know, but a labor of love like this becomes very important to the laborer.
Now I'm thinking of just keeping it for myself. I can wrap up in it and remember the journey to finish this mammoth thing. My husband says I can definitely never sell it because I would have to charge too much money just to feel like my labor paid off and not end up irritated and convinced that the stranger who purchased my blanket just threw it in a closet one day and left it to wither. I can't do that to you, Blanket.
All joking aside, I am quite proud of how it looks. The crochet pattern is different than what I've done before and I am still in love with the stripes and colors. It's soft and warm and will be wonderful to cuddle under before year's end. I need to finish it this year -- for my own sense of accomplishment. I also need it as a reminder the next time I decide to tackle a large crochet project.
My neverending blanket will have an end, darn it! Even Bastian and Atreyu found an ending and so can I!
Showing posts with label blue. Show all posts
Tuesday, January 8, 2013
Friday, November 23, 2012
DIY Button Flowers
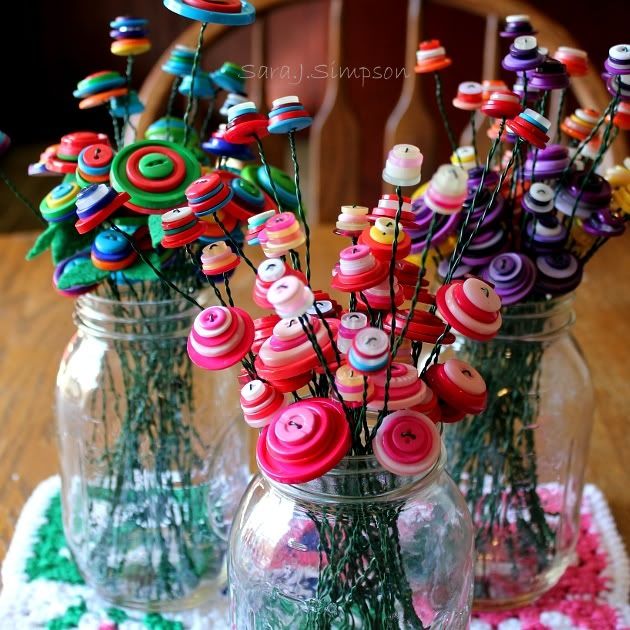
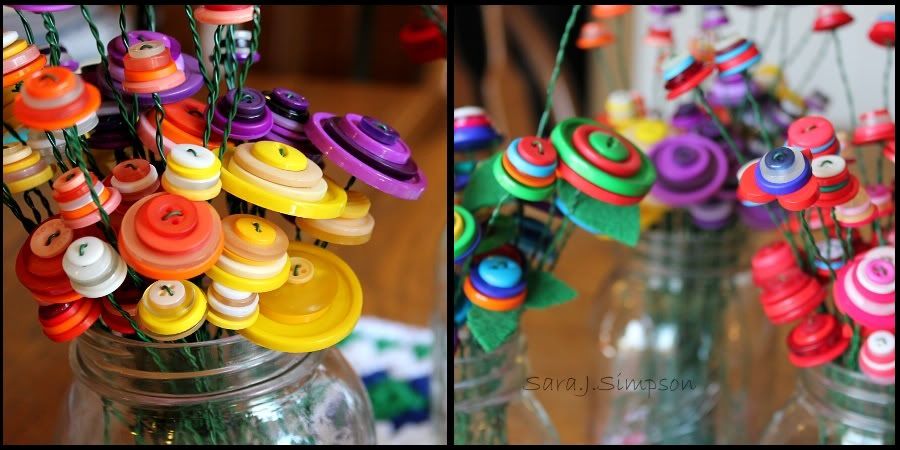
As promised in a previous post, here is a tutorial for making colorful and easy button flowers. They are a great addition to add a pop of color to any room AND they don't die! I like making multi colored flowers but I also really like to make monochromatic flowers. The monochromatic flowers are great to enhance accent colors in a room.
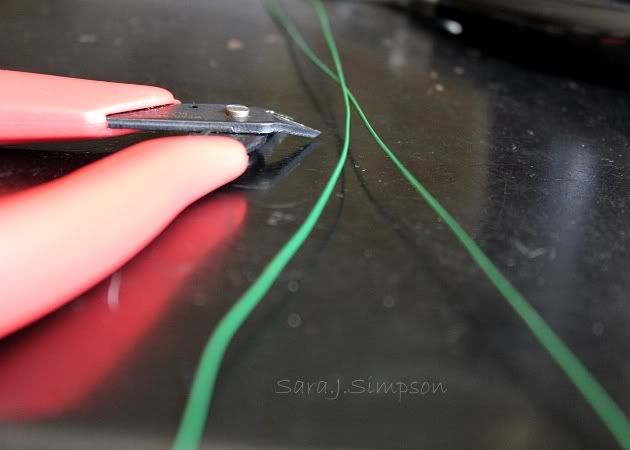
Cut a piece of floral wire in the desired length. You will need to double the length because you have to fold it in half to string on the buttons. Leave a little extra length at the bottom so you can twist the wire once the buttons are in place.
Now you have one flower finished! You can make as many as you want to fill vases, Mason jars, tie with ribbon, or find other fun uses.
Enjoy your flowers!
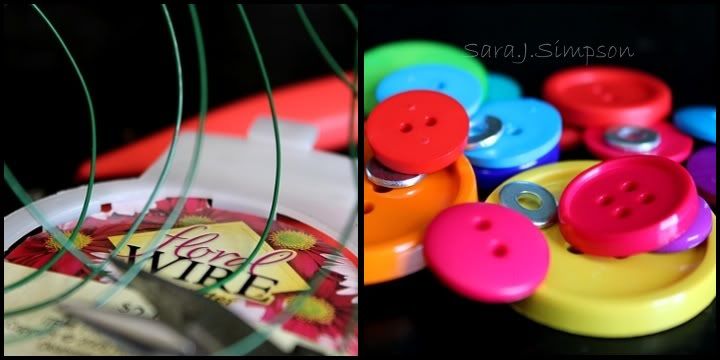
Things you'll need:
Floral Wire - I used 22 gauge
Wire Cutter
Pliers
Buttons
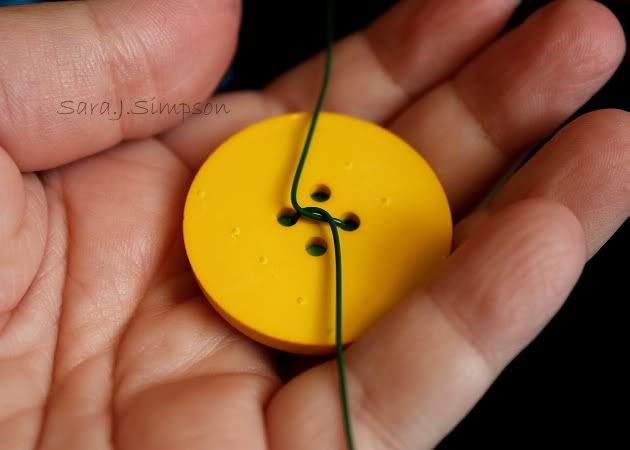
Cut a piece of floral wire in the desired length. You will need to double the length because you have to fold it in half to string on the buttons. Leave a little extra length at the bottom so you can twist the wire once the buttons are in place.
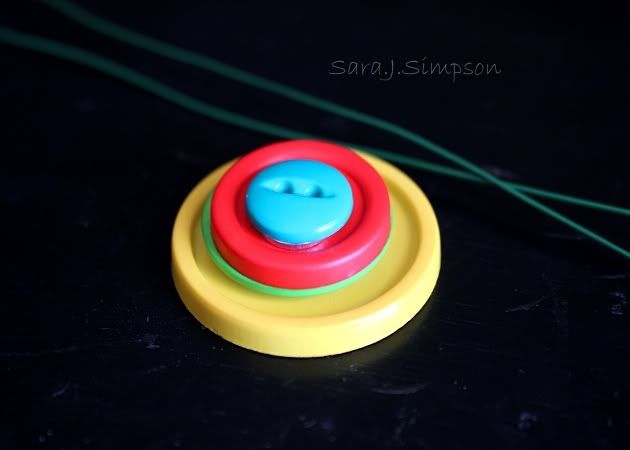
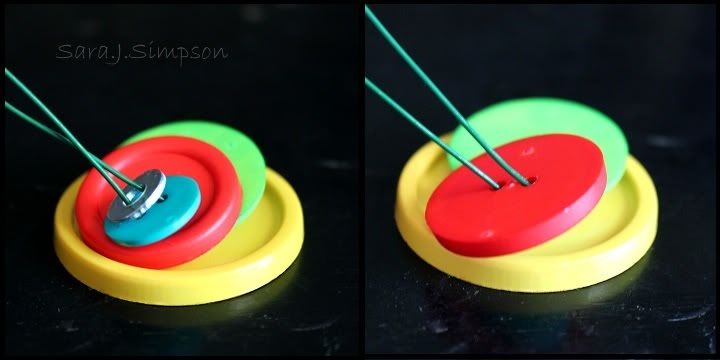
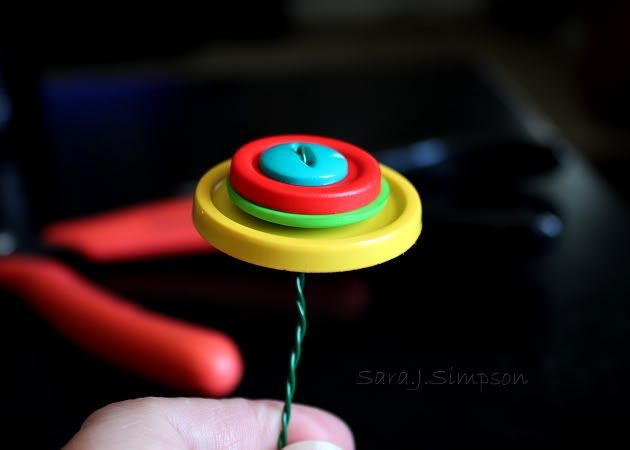
Here's the fun part -- design your button flower. Place the buttons (and any other fun things you decide to play with - like a washer) in the order you want them displayed.
Now string the buttons onto the wire. Start with the top button first and make sure to pull it all the way to the top of the wire so there is no gap between the wire and buttons. Then add the other buttons.
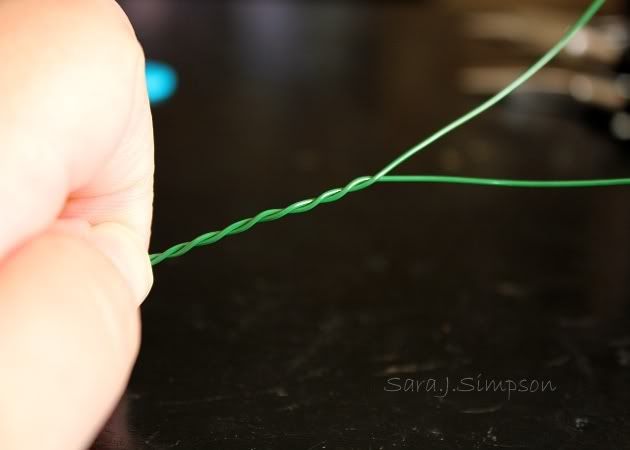
Once all of the buttons are on the wire, pull them to the top so they are tight. Then twist the wire to secure it under the bottom button.
Now keep twisting the wire all of the way to the bottom. To make sure the buttons stay in place, hold the wire in place under the bottom button and then use your other hand to twist the wire pieces.
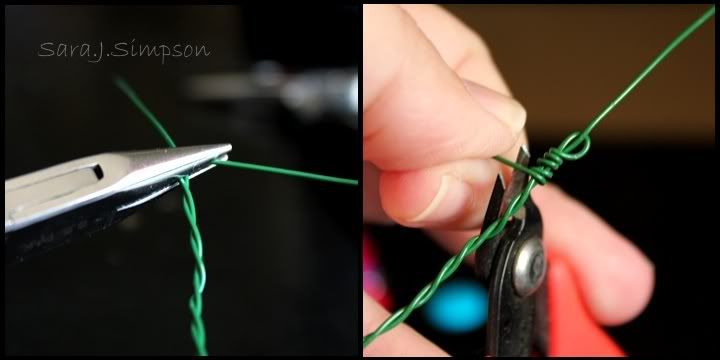
Once you have twisted the wire to the bottom, use your pliers to bend the sharp ends down. Then wrap them around and cut off the ends. This keeps the wire from unraveling and it also gets rid of the sharp points.
Now you have one flower finished! You can make as many as you want to fill vases, Mason jars, tie with ribbon, or find other fun uses.
Enjoy your flowers!
Sunday, September 23, 2012
Saturday, August 18, 2012
Crocheted Bag No. 1
Our summer has just flown by despite not having a hectic schedule. I work full time during the week and have a family so life can be crazy during the school year with school, sports schedules, and other activities. I love the summer because we are really lackadaisical and I have a lot more free time. A couple of weeks ago I decided to use up some yarn that I had to make a bag. I worked over the course of the weekend and then finished it up at night during that work week. I love that feeling of complete obsession when I start a project and can't wait to see the finished product. I was obsessed with this bag and love how it turned out.
One of the things I love about crochet is making up projects as I go. I typically don't use patterns, although, I will sometimes use a pattern to get started on an idea. I also don't write down patterns for my projects but I want to remedy that soon. If I decide to make another item using the same pattern, I end up counting stitches on the finished piece as I'm making the new one. Simply writing down the pattern would probably make it easier so I guess that's something to work towards.
I started with the bottom of the bag and just made a giant round.
|
I also have an abundance of granny squares right now. In my attempt to use the yarn I have before buying more, I have made a lot of granny squares and have been looking for various uses. I think I may make some mismatched granny square bags as well.
More to come on the abundance of granny squares and what I end up doing with them (as I had discussed
HERE
|
I have a sneaking suspicion that I will end up making more bags than I could ever expect to use.
Subscribe to:
Posts (Atom)