Showing posts with label red. Show all posts

Sunday, February 10, 2013

February Color: Red

I haven't posted in a couple of weeks because life got in the way.  Work, illness, activities for my kids, time with family and friends, business trip, and time for rest - life.  It's ok though - I'm working on not expecting myself to be all things at all times.  So this weekend I'm taking some time to plan out my blog posts and projects for the month of February and I have a great friend who generously offered to help me with a graphic design for my blog - more to come on that.

So the color I have for this month is Red - no surprise there.  Valentine's Day, Heart Health Awareness, and the love of my life's birthday is in February so Red just makes sense.  Also, it's still pretty brown and colorless outside so I needed a pop of color.  Red also happens to be one of my Pinterest Color Boards.

So here are the Red picks that are floating my boat right now...

Tuesday, January 22, 2013

Textured Scarf No. 1

Remember the yarn I adored a couple of weeks ago?  I bought it without having a project in mind and then decided to make a scarf for myself. 


The yarn is a wool blend and I used a size G (4.25mm) crochet hook.  I used a double crochet stitch throughout and I worked in the outer hoops to add some texture.


For the green ends, I still used the same double crochet/outer loops but turned the rows to make the ends look more finished.  Then I single crocheted around the outside for a green border.  I think it completes the look with the green ends.


I am really happy with the end result.  Perfect timing now that the weather is getting cold again in the Carolinas.  Hope you enjoy your week and stay warm!


Saturday, December 15, 2012

Dreamcatcher

I'm resting a lot this weekend to try and get myself and family over the flu that hit us this week.  I'm also resting because emotionally I'm pretty spent thinking and praying over many families in Connecticut.  My heart grieves with everyone else in this country.  It is impossible to make sense over a senseless act.  I don't think knowing the "why" behind it will do much good -- there is no explanation that would be enough to help our hearts and minds understand.

Last weekend I created a dreamcatcher.  It was something I had been creating in my mind for a couple of weeks and I was able to spend a good chunk of my weekend to see it to fruition.  My 6 year old definitely believes in the magic of a dreamcatcher.  He has one in his room and now wants me to make him one that he thinks will work even better.  I wish I could send dreamcatchers to the homes of many children and families in Connecticut right now.  If nothing more then to let them know that our hearts are with all of them and how we wish to catch the bad dreams that will come and hold them close to keep those people protected from any more horror.


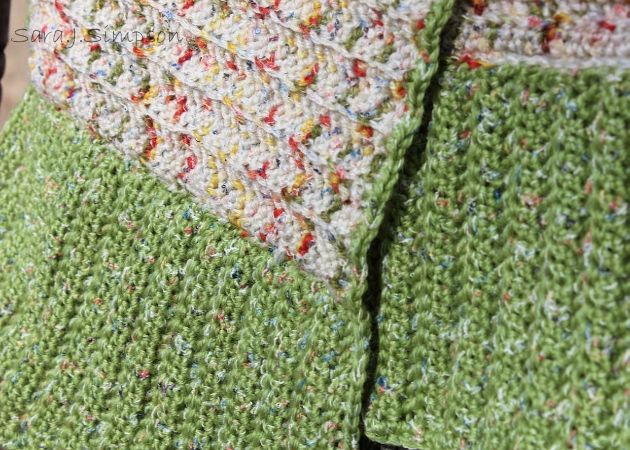
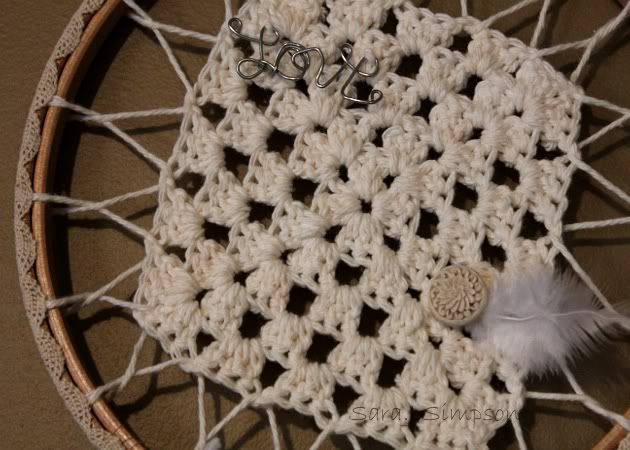
I crocheted a traditional granny square out of cotton yarn and then stretched using a web like pattern onto an embroidery hoop.  Once on the hoop, I used fabric glue and glued a lace ribbon around the edges.  I added some "love" that I had bent and shaped a long time ago out of steel wire.  I also added a faux cinnabar bead and feather.  Originally dreamcatchers were made to resemble spiderwebs and a bead symbolized the spider.  The webs would catch the bad dreams and keep them from getting through.  They would also catch good dreams and trickle them down to the dreamer.


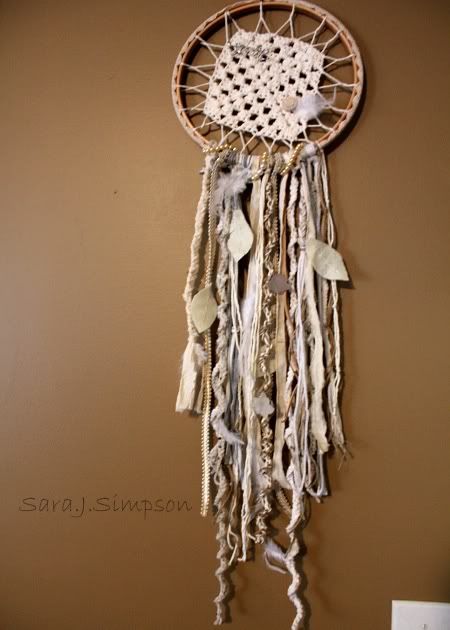
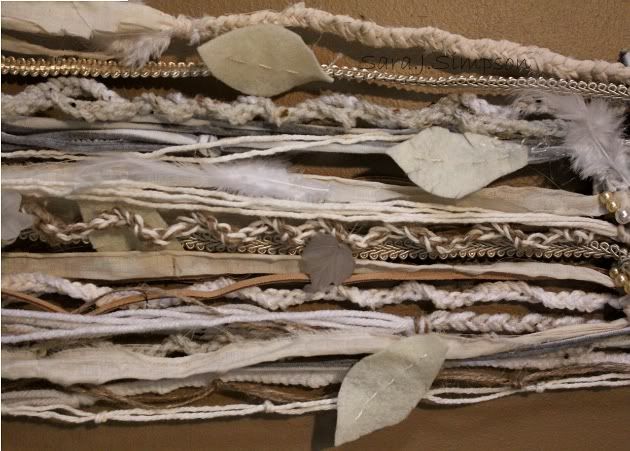
Most of my time was spent on what is called the "soft ladder" that the good dreams use to glide down and gently enter the dreamer's mind.  I used decorative trim, cotton yarn, acrylic yarn, twine, muslin, recycled t-shirt, glass pearl beads, felt, faux feathers, and some lucite beads.  I braided, crocheted, knotted, hung, cut, and assembled for hours.


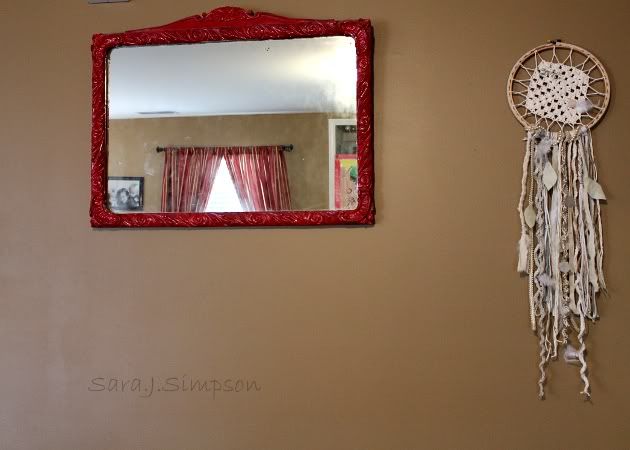
The dreamcatcher now hangs in our family room for decorative purposes and in case someone takes a nap on the couch.  Just ignore the smudgey mirror on the wall. 


I have plans to make more as gifts.  I wish I could make enough for the whole state of Connecticut but, since I can't, just know that my heart is there.  Love your babies, your families, your friends, and thank a teacher who positively impacts your child's life.  I strongly believe that good can prevail over evil but, until it does, we might need a little magic to catch the bad and share the good to help us get through it.

Friday, November 23, 2012

DIY Button Flowers

As promised in a previous post, here is a tutorial for making colorful and easy button flowers.  They are a great addition to add a pop of color to any room AND they don't die!  I like making multi colored flowers but I also really like to make monochromatic flowers.  The monochromatic flowers are great to enhance accent colors in a room.


Things you'll need:
Floral Wire - I used 22 gauge
Wire Cutter
Pliers
Buttons


Cut a piece of floral wire in the desired length.  You will need to double the length because you have to fold it in half to string on the buttons.  Leave a little extra length at the bottom so you can twist the wire once the buttons are in place.


Here's the fun part -- design your button flower.  Place the buttons (and any other fun things you decide to play with - like a washer) in the order you want them displayed.


Now string the buttons onto the wire.  Start with the top button first and make sure to pull it all the way to the top of the wire so there is no gap between the wire and buttons.  Then add the other buttons.


Once all of the buttons are on the wire, pull them to the top so they are tight.  Then twist the wire to secure it under the bottom button.


Now keep twisting the wire all of the way to the bottom.  To make sure the buttons stay in place, hold the wire in place under the bottom button and then use your other hand to twist the wire pieces.


Once you have twisted the wire to the bottom, use your pliers to bend the sharp ends down.  Then wrap them around and cut off the ends.  This keeps the wire from unraveling and it also gets rid of the sharp points.


Now you have one flower finished!  You can make as many as you want to fill vases, Mason jars, tie with ribbon, or find other fun uses.


Enjoy your flowers!