"I Heart This Week" is a new weekly feature I will be doing in 2013 on my blog. It forces me to make sure I'm capturing weekly photos of the things I love that week - some may be silly, some may be serious. Mostly I just want to always stay present in the moment and not take things for granted.
I heart this week:
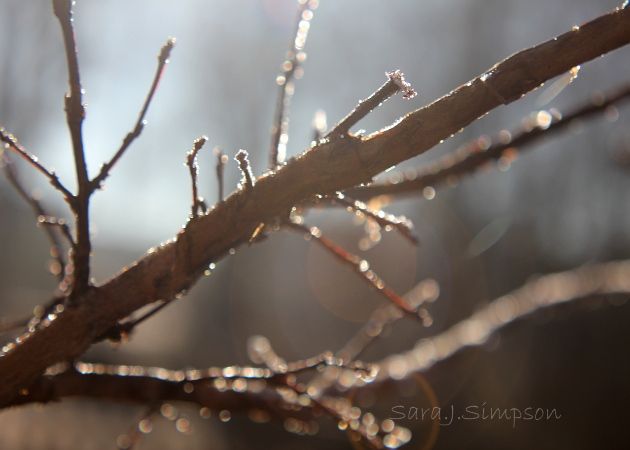
Morning frost and light...
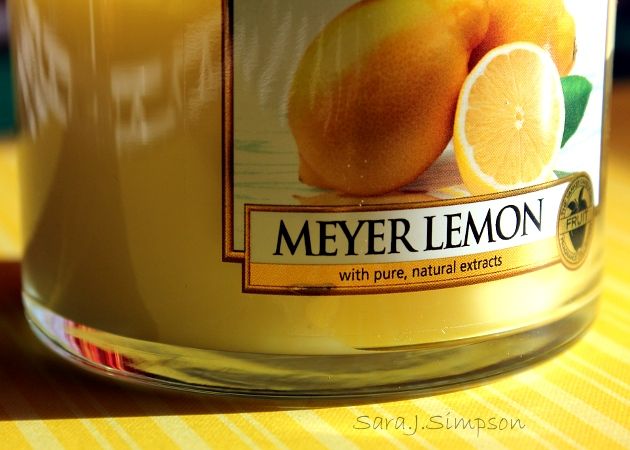
New candle that burns while I work in my office and gives me a sense of calm...
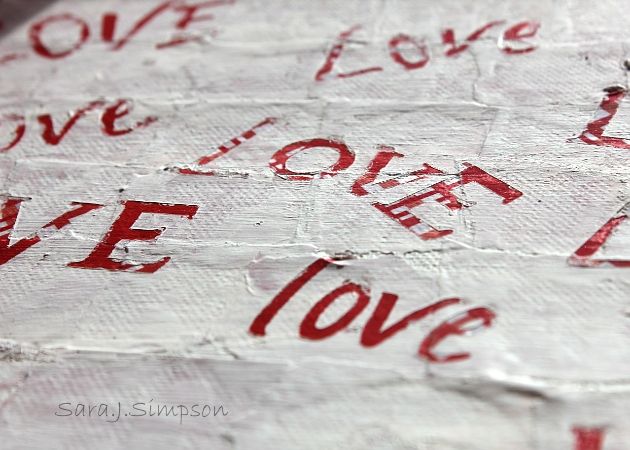
Self-Explanatory...
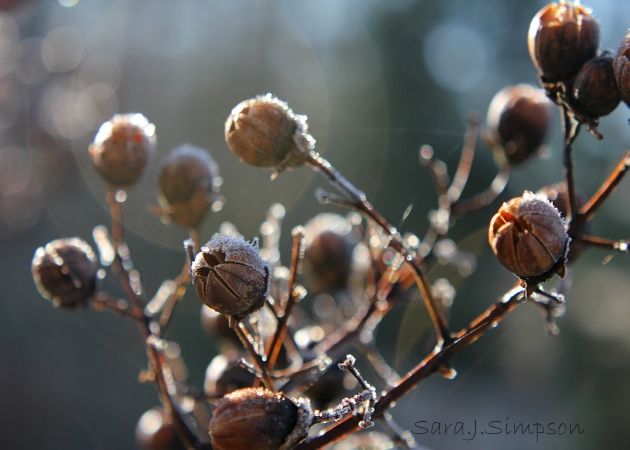
Natural lens flare over my Crepe Myrtle in the morning...
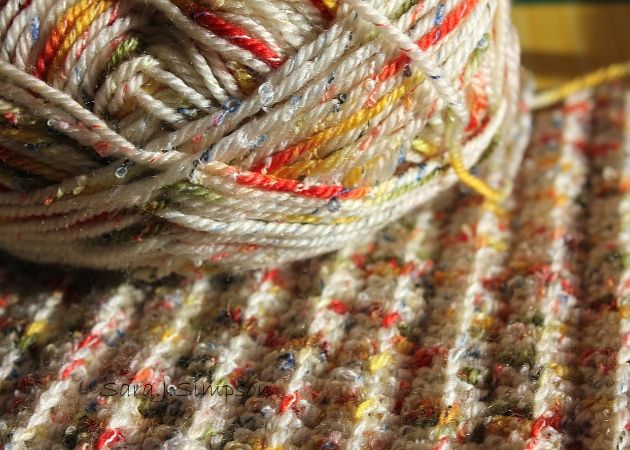
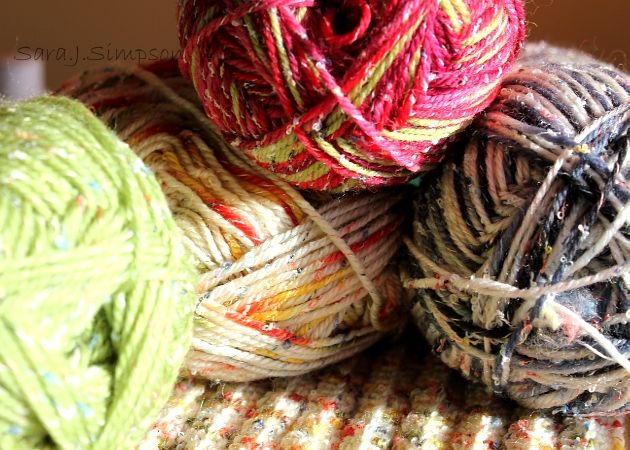
Finding a new yarn unexpectedly and absolutely loving it...
Loving the above yarn so much that I went back to the store two days later and bought more in different colors...
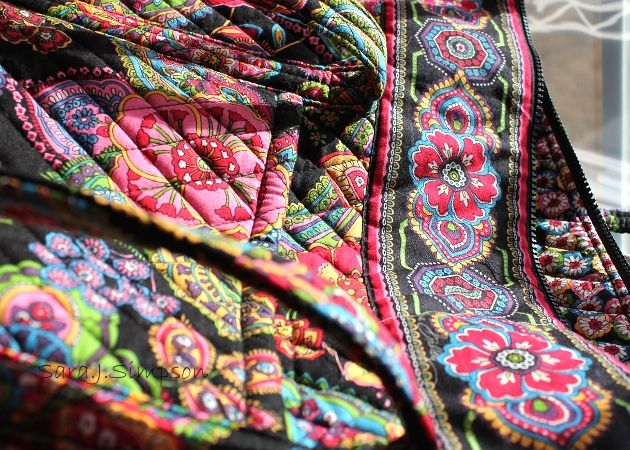
A new, colorful tote bag gifted to me by my mother-in-law for a specific purpose: to carry my craft supplies with me in style...
I definitely heart this week!
Showing posts with label light. Show all posts
Saturday, January 5, 2013
I Heart This Week
Wednesday, October 3, 2012
Easy Art - 2 Simple Projects
I want colorful art hanging around our house. Unfortunately, our budget does not allow me to buy much art so we make do with what we do have -- our own hands and some ideas. I thought I'd share a couple of ideas here. Two Easy Art ideas that don't require a lot of time, skill, or money!
Doodle Book Pages:
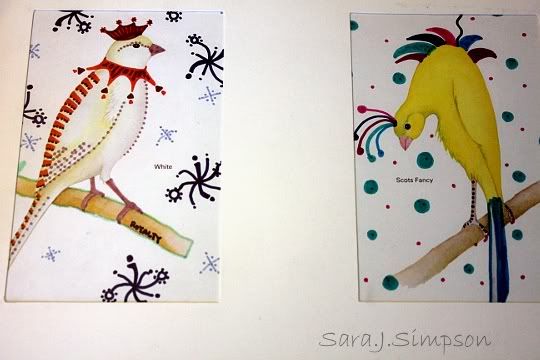
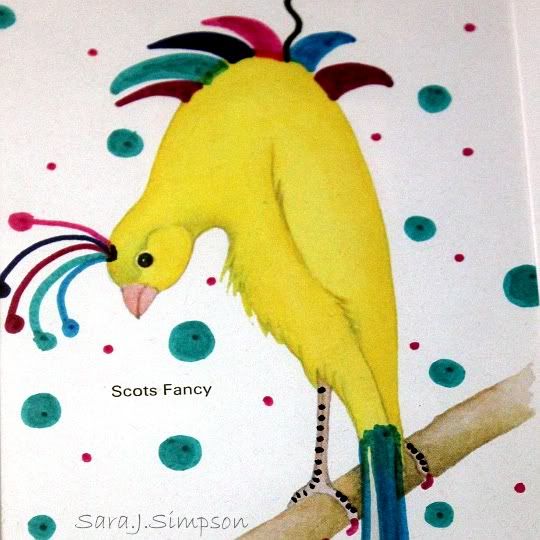
I decided it might be fun to add some colorful doodles to someone else's art work. I found an old book from the 1970s that was all about Canaries and taking care of them as pets. There were multiple pages of colorless canary drawings throughout the book.
What you need: A book you don't mind cutting out pages to use, Sharpies (or other markers but seriously - who doesn't love a Sharpie?), and something to mat and frame the finished product (or just a frame).
Cut out the pages you want to use, sit down with a marker, and....DOODLE!
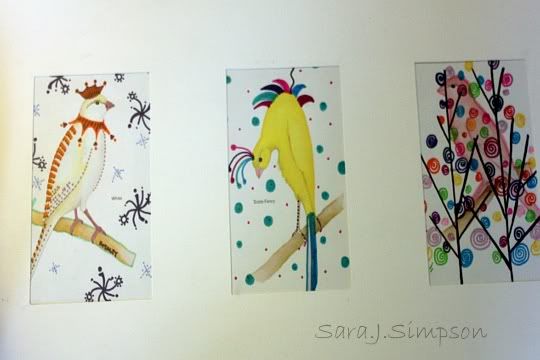
I chose 3 canary pages to doodle because I had an inexpensive frame that was matted for 3 5x7 sized spaces. My pages were just about 5x7" so fit perfectly.
Photography for Child's Room:
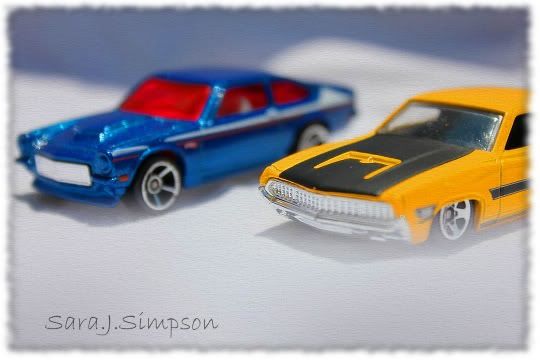
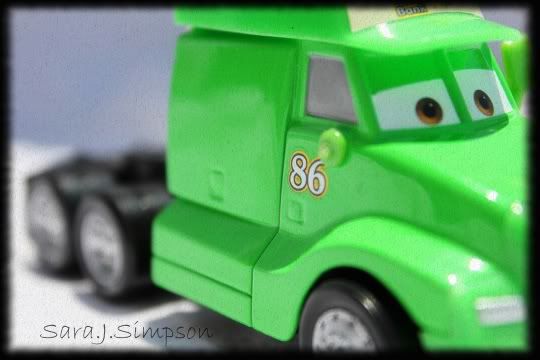
This next little project was something I did for my youngest son's bedroom. He has always loved cars - the movie, the matchbox variety; you name it, he loved it. Once he outgrew his nursery and wanted a "big boy room", I wanted to find some art to hang that he would enjoy.
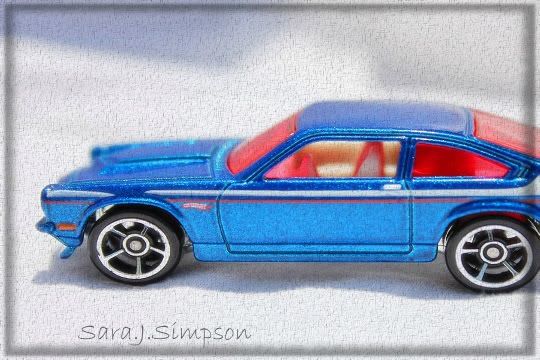
What you need: a camera, some favorite toys, good lighting, and I used a white sheet for the background. I also used an editing software to add some texture but that's really optional.
I went outside with a bucket of his favorite cars and took some close up photos. I used a white crib sheet to for the background and some good outdoor lighting (Thanks, Sun!)
Doodle Book Pages:
I decided it might be fun to add some colorful doodles to someone else's art work. I found an old book from the 1970s that was all about Canaries and taking care of them as pets. There were multiple pages of colorless canary drawings throughout the book.
What you need: A book you don't mind cutting out pages to use, Sharpies (or other markers but seriously - who doesn't love a Sharpie?), and something to mat and frame the finished product (or just a frame).
Cut out the pages you want to use, sit down with a marker, and....DOODLE!
I chose 3 canary pages to doodle because I had an inexpensive frame that was matted for 3 5x7 sized spaces. My pages were just about 5x7" so fit perfectly.
I didn't take a great photo of the actual framed piece because it's currently off the wall while I decide where to put it next. You get the gist though -- 3 pictures, some extra color, easy art. Not fine art, mind you, but colorful and fun to hang on the wall.
Photography for Child's Room:
This next little project was something I did for my youngest son's bedroom. He has always loved cars - the movie, the matchbox variety; you name it, he loved it. Once he outgrew his nursery and wanted a "big boy room", I wanted to find some art to hang that he would enjoy.
What you need: a camera, some favorite toys, good lighting, and I used a white sheet for the background. I also used an editing software to add some texture but that's really optional.
I went outside with a bucket of his favorite cars and took some close up photos. I used a white crib sheet to for the background and some good outdoor lighting (Thanks, Sun!)
I had these printed locally as 8x10 photographs and it cost me less than $20 to have them printed (I think I printed 7-8 photos total). I hung them in inexpensive frames around his room. He loved them! That was when he was 4 years old, he's now 6 and still loves them.
There you go -- 2 Easy Art DIY ideas. You don't have to spend a lot of money or only hang fine art in your house to add some color and interest.
Sunday, September 2, 2012
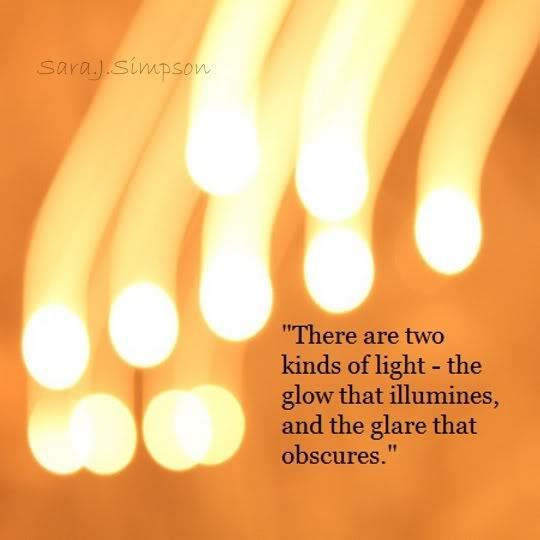
Illuminate
Labels:
bokeh,
glare,
glow,
illuminate,
illumine,
light,
obscure,
orange,
photo,
photography,
picture,
Sunday,
sunglasses,
yellow
Tuesday, July 17, 2012
Photography - Playing with Silhouettes
We've all taken those photos where the subject is too dark to really make out any facial features. Until I started learning more about photography, I didn't really know how to prevent this from happening. Now I realize, if you put the light behind your subject, you are going to have a lot of shadows. Lighting is such a big part of photography and where the light is coming from makes a huge difference. However, playing with lighting can be fun and digital photography allows us to do that without wasting film. Win-win!
One thing I've found to be fun is working with those scenes where the light comes from behind. It can give you a fun silhouette. Here are some photos where the backlighting made the photo so much more interesting.
This was in Hawaii in 2010. I had just been learning about lighting and this silhouette effect. The whole time we were there, I wanted to take this photo. This happened the last night before we left. We went down by the water outside of our condo at sunset, I relayed my vision to my mother-in-law, and she snapped the photo for me. We had a lot of photos from that trip and I think this one captures the entire vibe of the trip.
Over time I've learned to purposefully look for these types of shots but there have been many times that they happened on accident. Sometimes it can be a happy accident so don't be so quick to delete photos that don't turn out exactly as you wanted. Look to see what you can make of it first. You might find a good one that surprises you!
Feel free to share links to some of your favorite silhouette photos in your comments. Enjoy!
|
Labels:
back,
black,
Hawaii,
light,
photo,
photography,
picture,
portrait,
self,
silhouettes,
texture,
white
Subscribe to:
Posts (Atom)