
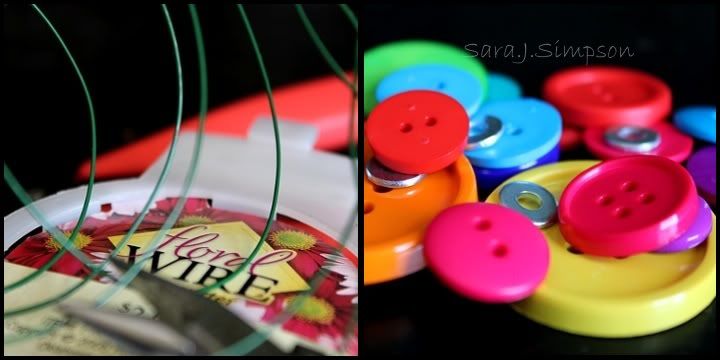
Things you'll need:
Floral Wire - I used 22 gauge
Wire Cutter
Pliers
Buttons
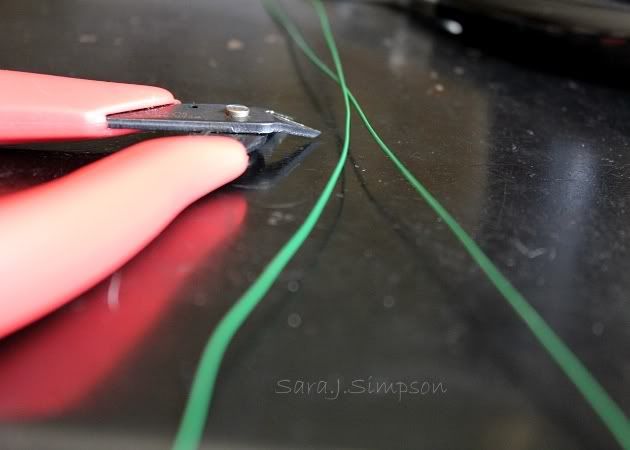
Cut a piece of floral wire in the desired length. You will need to double the length because you have to fold it in half to string on the buttons. Leave a little extra length at the bottom so you can twist the wire once the buttons are in place.
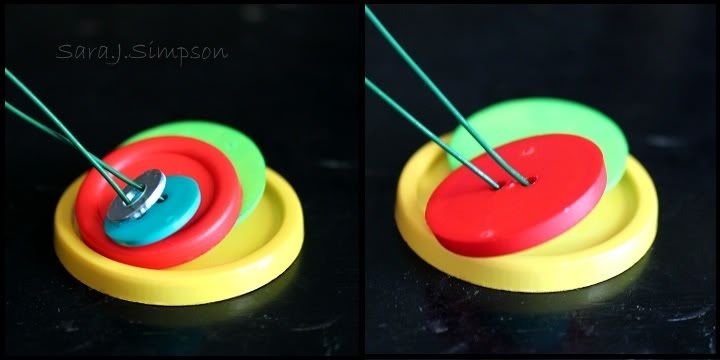
Here's the fun part -- design your button flower. Place the buttons (and any other fun things you decide to play with - like a washer) in the order you want them displayed.
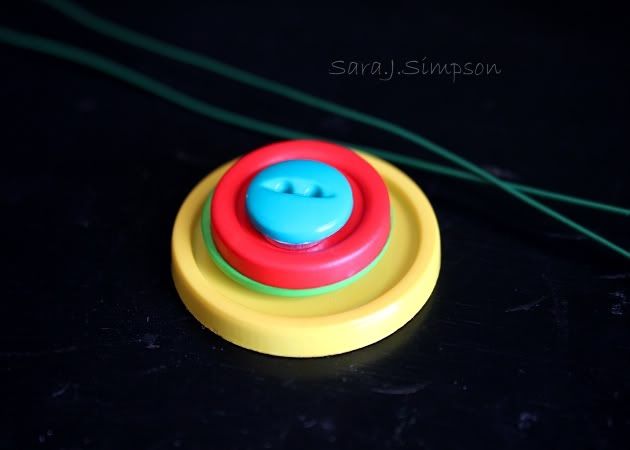
Now string the buttons onto the wire. Start with the top button first and make sure to pull it all the way to the top of the wire so there is no gap between the wire and buttons. Then add the other buttons.
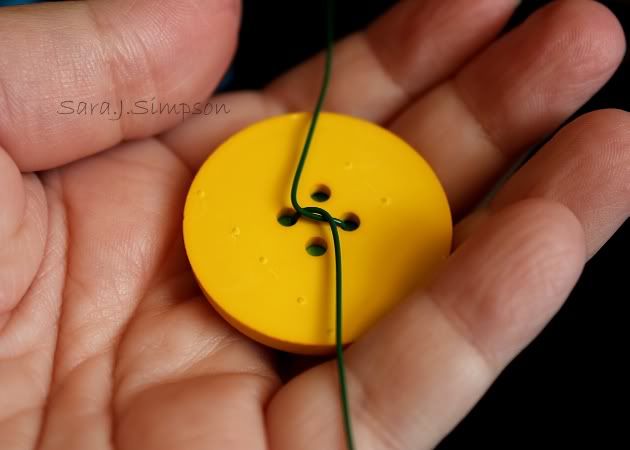
Once all of the buttons are on the wire, pull them to the top so they are tight. Then twist the wire to secure it under the bottom button.
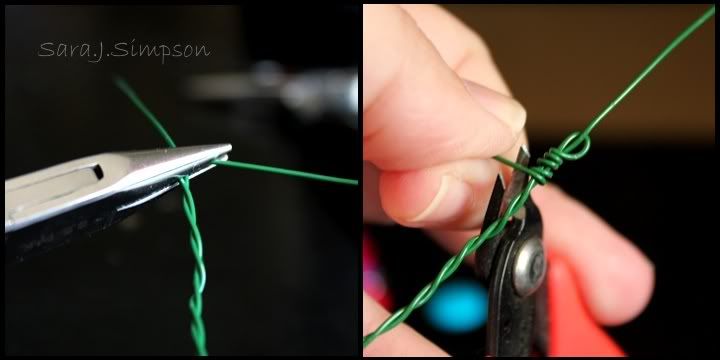
Now keep twisting the wire all of the way to the bottom. To make sure the buttons stay in place, hold the wire in place under the bottom button and then use your other hand to twist the wire pieces.

Once you have twisted the wire to the bottom, use your pliers to bend the sharp ends down. Then wrap them around and cut off the ends. This keeps the wire from unraveling and it also gets rid of the sharp points.
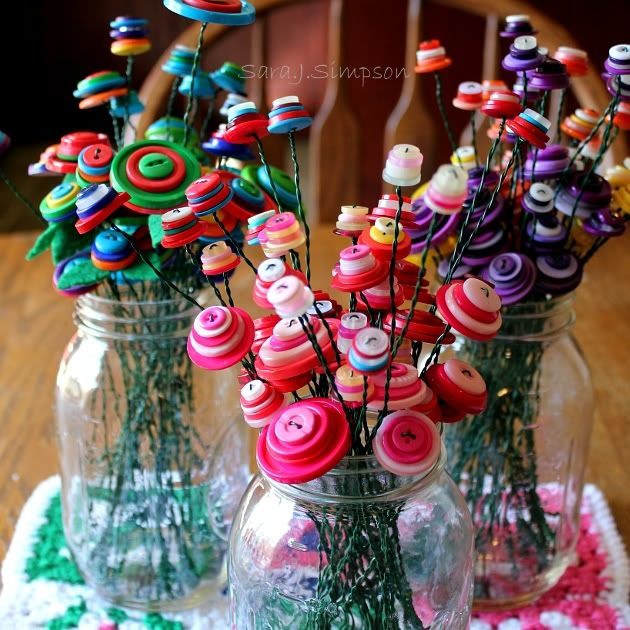
Now you have one flower finished! You can make as many as you want to fill vases, Mason jars, tie with ribbon, or find other fun uses.
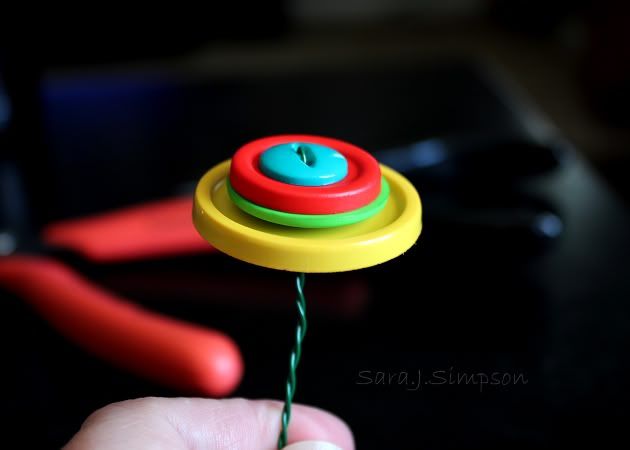
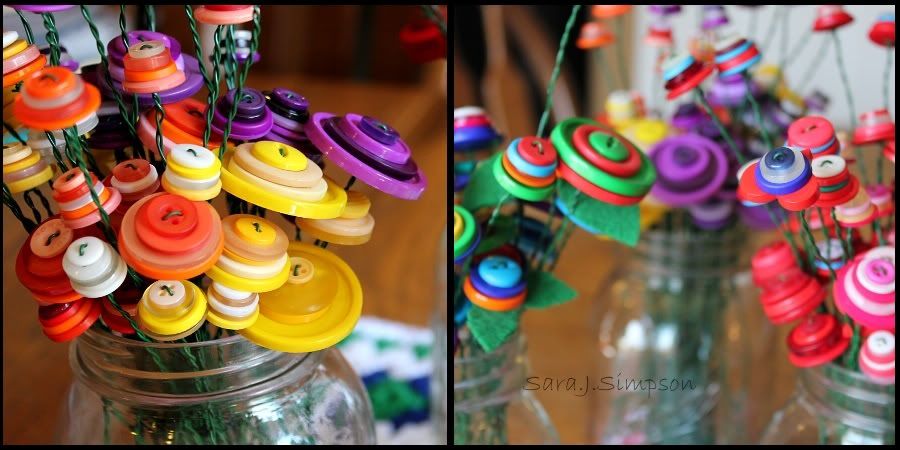
Enjoy your flowers!
No comments:
Post a Comment